Before Moving a Jio Number to eSIM: A Preparation Checklist
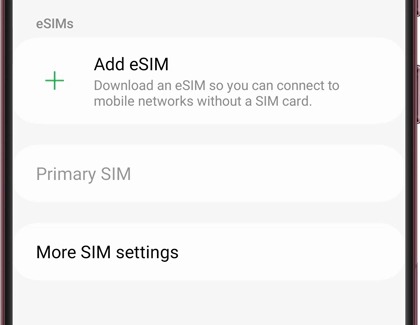
Changing to eSIM is an account and device migration, not simply scanning a code. Prepare the target handset and access to your number before starting the official process.
Start with the evidence
Jio describes an official MyJio route involving the target device EID, account verification and confirmation. Check the current instructions immediately before acting: eligibility and verification steps can change. This checklist prepares the move rather than replacing operator instructions.
A practical sequence
- Confirm that the exact handset variant supports the operator eSIM service, not merely that a similarly named model does.
- Find the EID on the target handset and verify each character before submitting anything.
- Make sure you can receive the required account verification and access the registered email.
- Choose a time when a temporary interruption will not affect an urgent journey, delivery or work call.
An example to recognise
Someone moving from an older handset to a supported new phone writes down the target EID and keeps the old service available while reading the official migration steps. They do not delete a working profile merely to experiment.
Before you finish
Treat QR codes, EIDs and OTPs as private. If the request stalls, use official support rather than repeatedly requesting new profiles.
Keep a short note of the result before trying another change. If the original symptom persists, that note helps you explain what happened to the relevant provider. A single successful test is useful evidence, but it does not establish that every device or location will behave the same way.